Some substandard work in progress from last weekend...
Posted by Don Murphy on March 12, 2011, 10:32:51
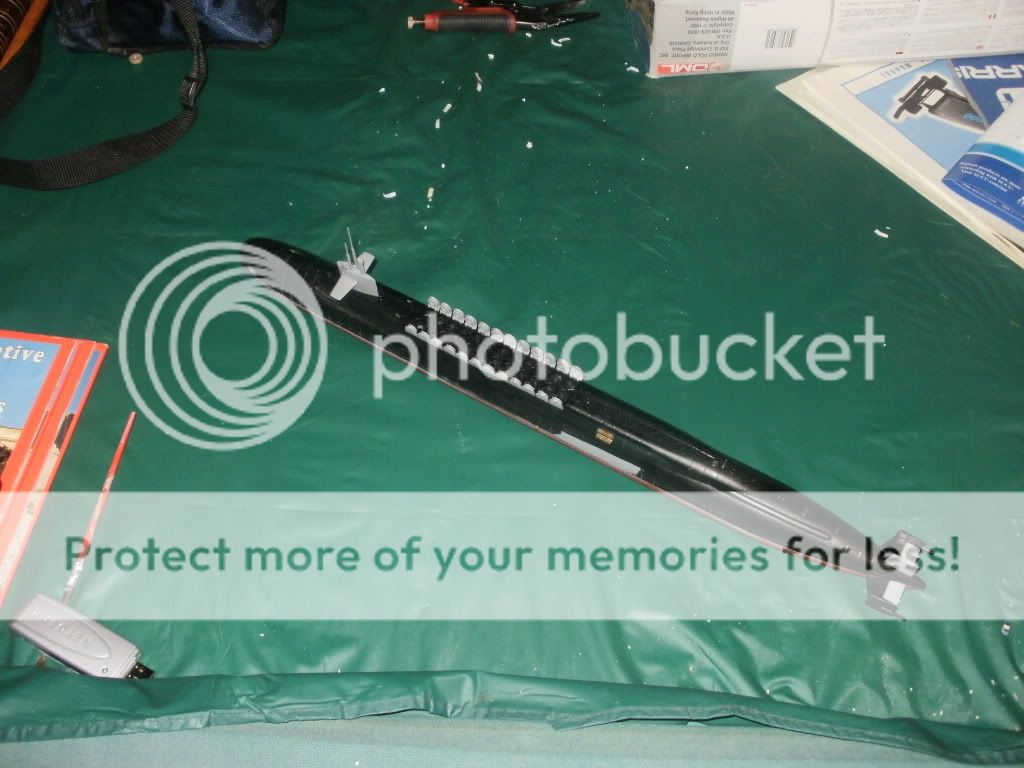
Dragon/DML/Testor's USS Ohio. Can't remember who's it is. Nevertheless, it's the same kit no matter who makes it. It is built except for the prop and the missile tubes. I need to scratchbuild one. I'm building it as possibly USS Rhode Island. The tubes will be open and I'm still debating whether to add the "blast caps" to the tubes or the protective screens.
The kit has been sitting around for a few years now and for some reason I just haven't gotten in to starting it. Pretty odd for a former sub sailor, but there you have it... I wanted a quickee build this weekend and this boat fit the bill perfectly. There are no fit problems anywhere.
The kit is pretty accurate compared to the real thing. In 1/350th scale, it's a pretty huge kit. I've built a few of these kits in the past but never with the hatches open. Once everything is finished, she'll get a coat of all-over Tamiya Semi-Gloss Black. Non-skid areas will get a coat of Testor's ModelMaster Aircraft Interior Gray.
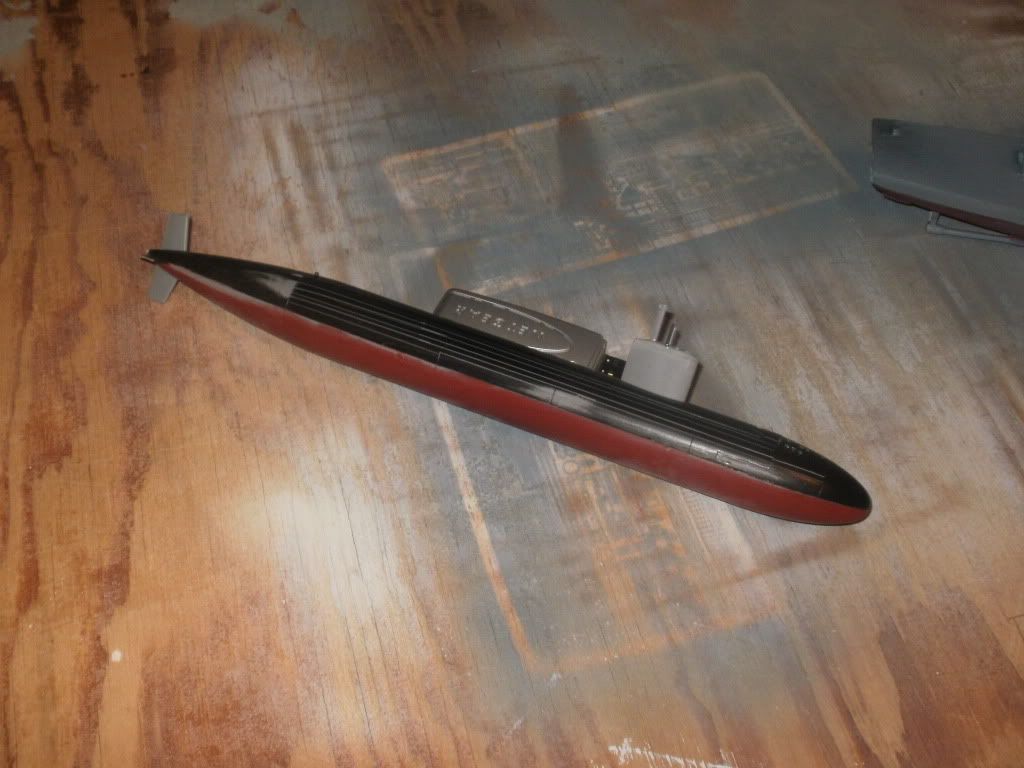
While we're building subs, might as well knock out a Flight III Los Angeles SSN. Another DML/Dragon kit. Also in 1/350th scale. This one will probably be USS Miami. But first, time to do something different. First, we scribe lines in the hull...
Then we cross hatch the lines to replicate the rubber tiles on the hull. I know, I know... But it was something I thought I'd try out. Luckily, the Ohio Class boomers don't have the tiles. Not sure if it'll withstand the coat of paint.
The kit is inaccurate as hell but can be easily corrected. All you need is some declass'd photo references from Navsource or your favorite image source and voila. Here's a close up of my home made tiles. Still have the rest of the Port side and ALL of the Starboard side to do.
Who knows, I may get up the courage to undertake Zimmerit now...
From here, looks like those tiles will look just perfect after painting, Don!
FWIW, I got a good, "tiled" look for deck plating on my 240-scale LST entirely by spraypainting, under alternating tape strips. Of course, adjacent plates then had different heights - one up, one down, and so on - but it made absolutely no difference to the final effect, and appearance. My only difficulty was that I had to really lay the paint on thick, to get a noticeable effect - but at your smaller scale of 1:350, a single, good, heavy spray (especially with Testors rattlecans) should do the trick.
I don't know exactly what "Zimmerit" is (though I think I have a pretty good idea), but I'm sure you'll do that justice, too, buddy!
Don't see anything "substandard" from here - except maybe some of the missing kit details, which you're inexorably correcting...
"Substandard" being a play on words, ha ha. Zimmerit is the anti-magnetic mine coating the Germans put on their tanks from 1944 onwards. It's a pain to do. The "accepted" way to do it is putty and then score the putty. Putty's forever tho...
Ah well. The vertical launch area on the SSN will have to be redone. It's wrong and I can't scribe/putty my way out of it. So I'll just cut the section out and put a new bow section in. Freakin' DML...